

Playing classic retro games on modern Switch hardware often feels unnatural because vintage control schemes do not translate cleanly to standard Joy-Con or Pro Controller layouts. You can fix this immediately by saving a dedicated retro profile in your console firmware: open System Settings, go to Controllers and Sensors, select Change Button Mapping, swap the face buttons and triggers to match vintage ergonomic arcs, and save the setup into one of the console's 5 available preset slots. For NES and Game Boy titles, you can also remap bindings directly inside their respective app suspend menus without altering your system-wide controls.
Nintendo Switch Online Membership (EU)
The Problem With Default Retro Layouts
Modern gamepads prioritize dual analog sticks and standard diamond face-button arrangements. Retro consoles, however, used dramatically different physical philosophies. The Nintendo 64 controller featured a three-pronged trident with a central analog stick, a rear Z trigger, and four C-buttons arranged as directional keys. When Nintendo ported these games into the Nintendo Switch Online library, standard Joy-Con and Pro Controllers inherited odd compromises.
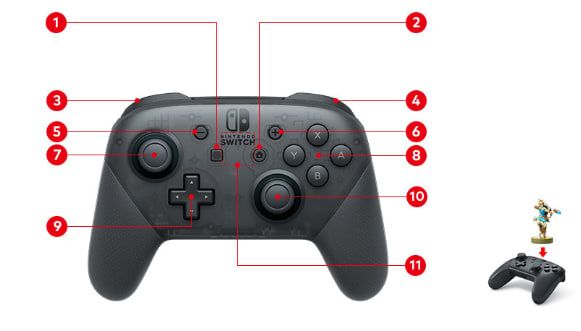
The most glaring friction occurs on the shoulder buttons. According to TechRadar's controller analysis, the Switch Online N6 app permanently reserves the ZR button for its emulator suspend/quick menu. Because ZR is hijacked, the emulator assigns the original N6 Z trigger to the left trigger (ZL) by default. If you play GoldenEye 007, your primary weapon firing gets relegated to your left hand. In Star Fox 64, pulling off barrel rolls splits awkward inputs across the left trigger and the right bumper. That feels jarring to anyone with muscle memory for original hardware.
NES and SNES titles introduce a different headache: the B and A buttons. On a standard NES pad, B (run/shoot) sits to the left of A (jump). On modern Nintendo controllers, Y and B mimic that horizontal plane much better than B and A do. Restricting older games to physical B and A forces your thumb into a cramped vertical slant.
Hardware Options: How the Controllers Compare
Before you reassign buttons in system menus, look at what is in your hands. If you hold an active Nintendo Switch Online Membership (EU), you can buy dedicated retro replicas directly from Nintendo. But you do not need to spend extra cash: standard pads work fine once properly configured.
| Controller | Image | Price | Battery & Build Details | Retro Trade-Offs | Sourced Details |
|---|---|---|---|---|---|
| Nintendo Switch Pro Controller | 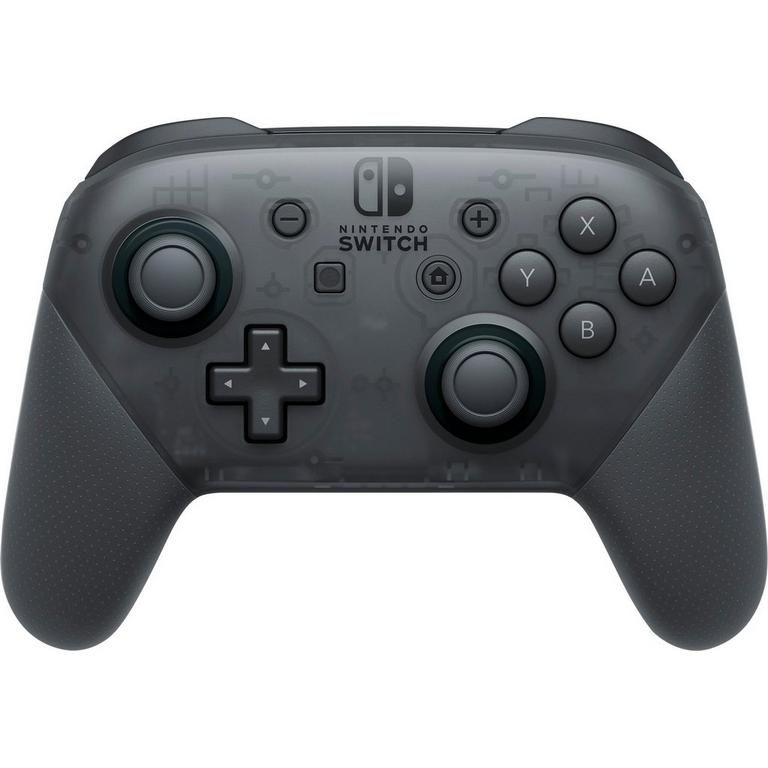 | $60 to $70 (MSRP) | Up to 40-hour battery life; dual analog layout. | Lacks physical C-buttons; requires system remap for N6 triggers. | CNET Best Switch Controllers |
| Official Nintendo 64 Controller for Switch | 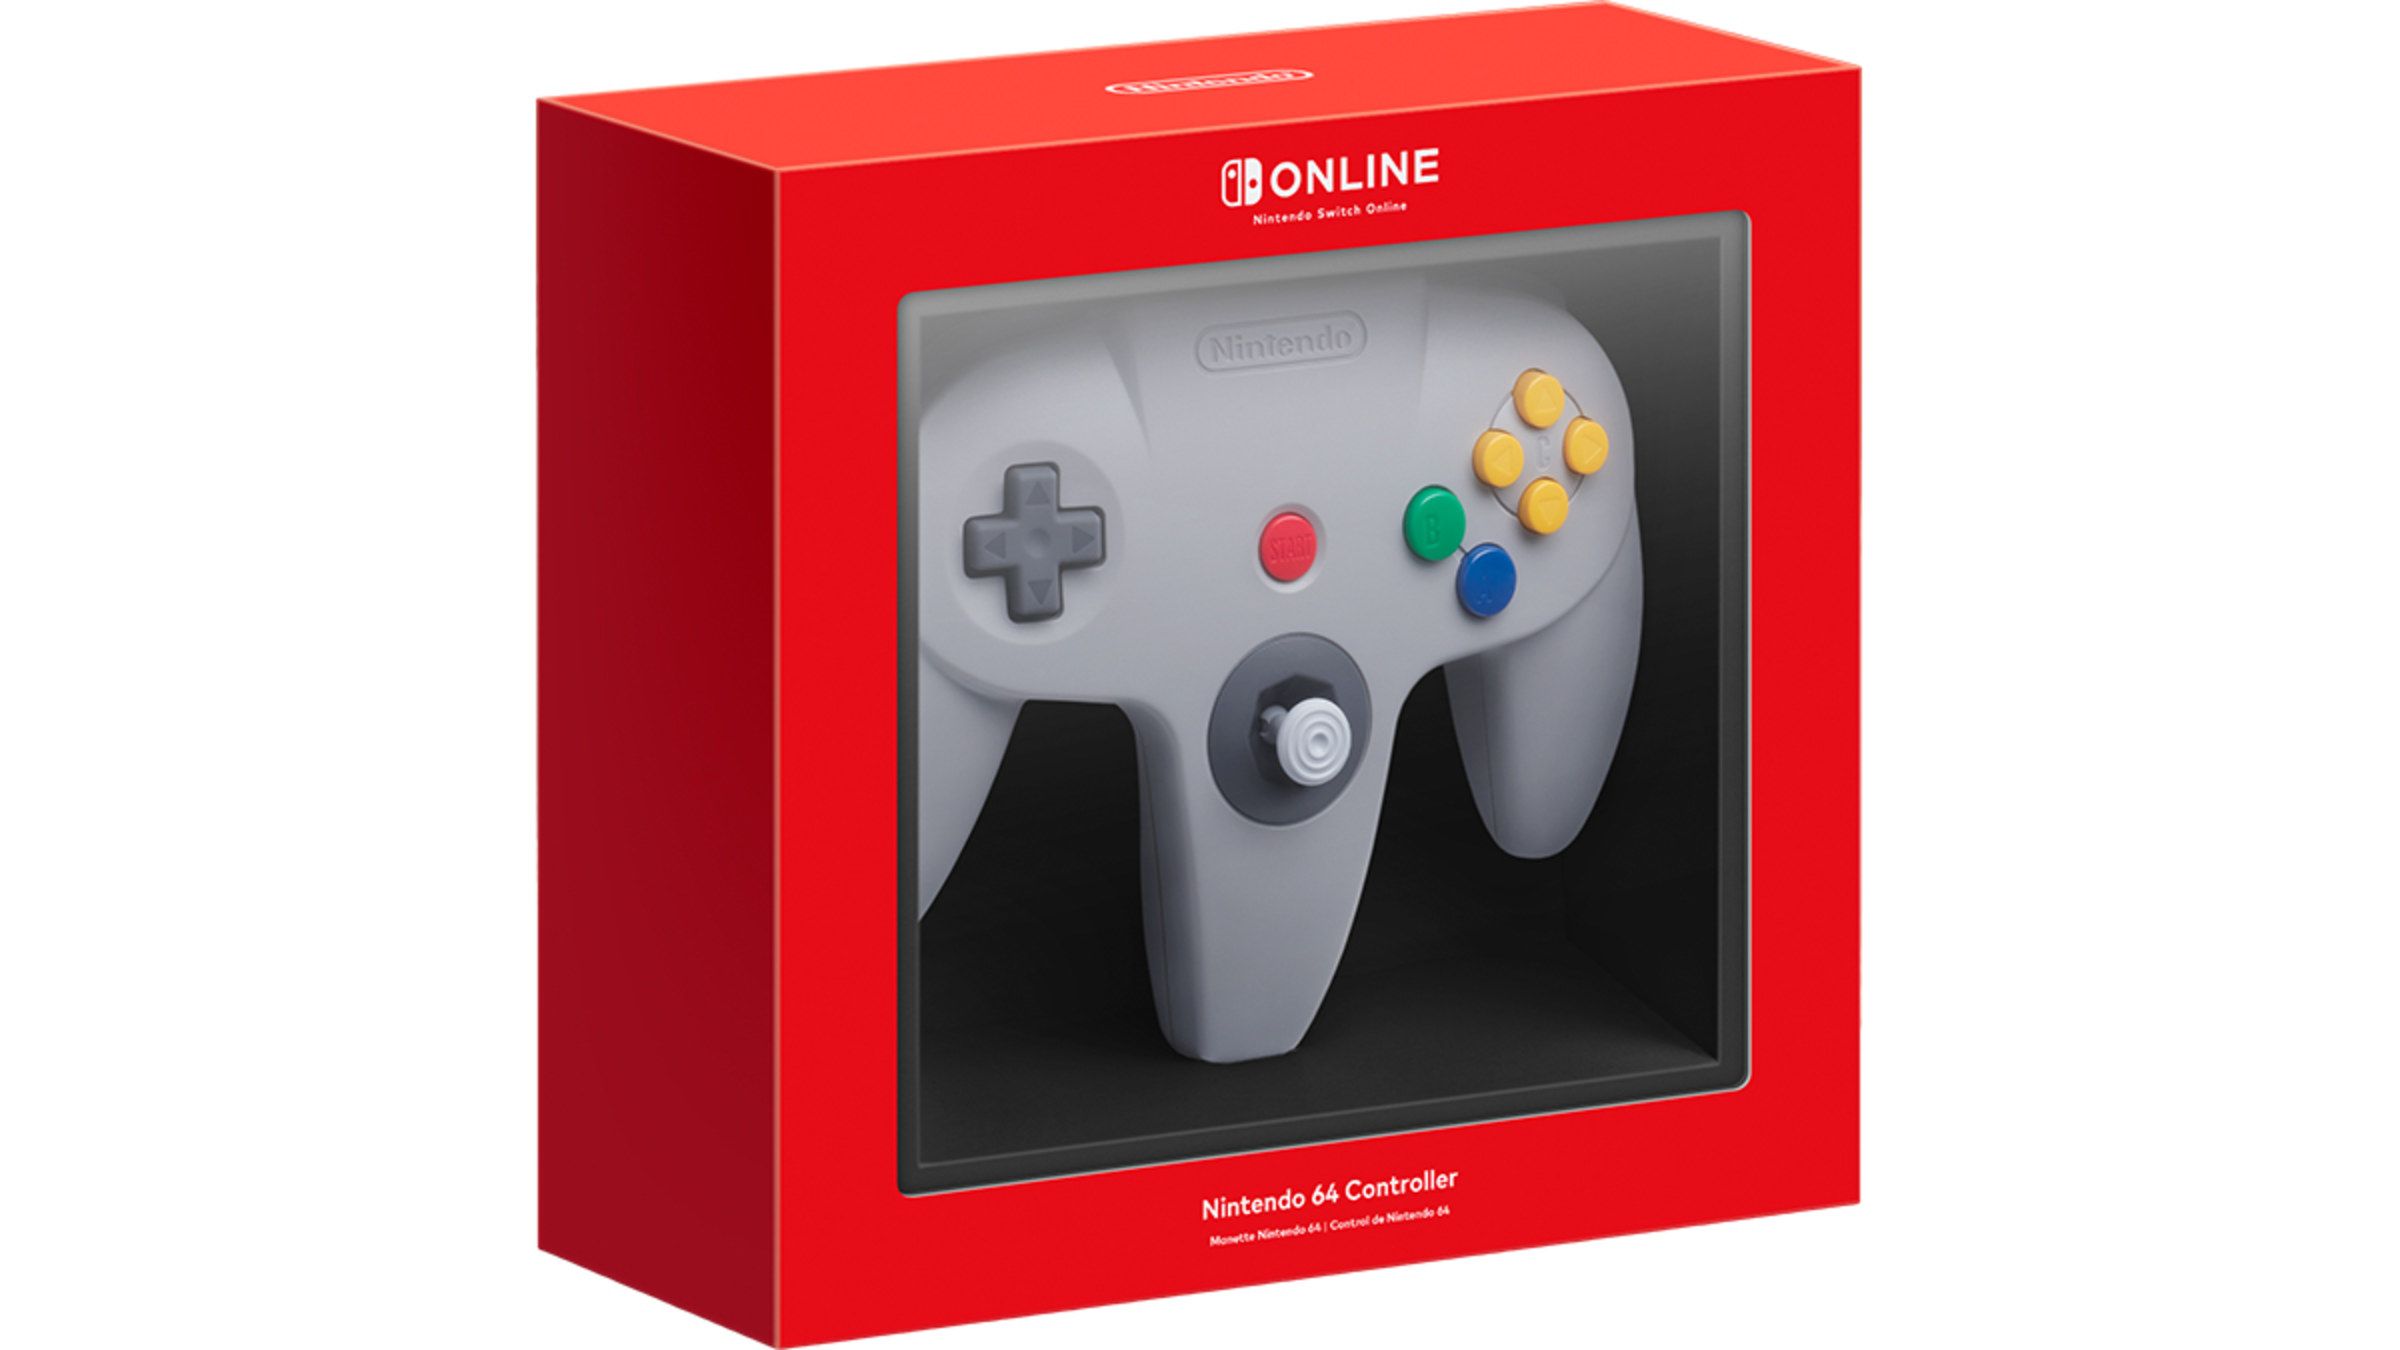 | $49.99 / £39.99 | Authentic trident design with built-in rumble. | Lacks X/Y buttons and a right analog stick; restricted outside retro apps. | TechRadar N6 Controller Guide |
| 8BitDo 64 Bluetooth Controller | 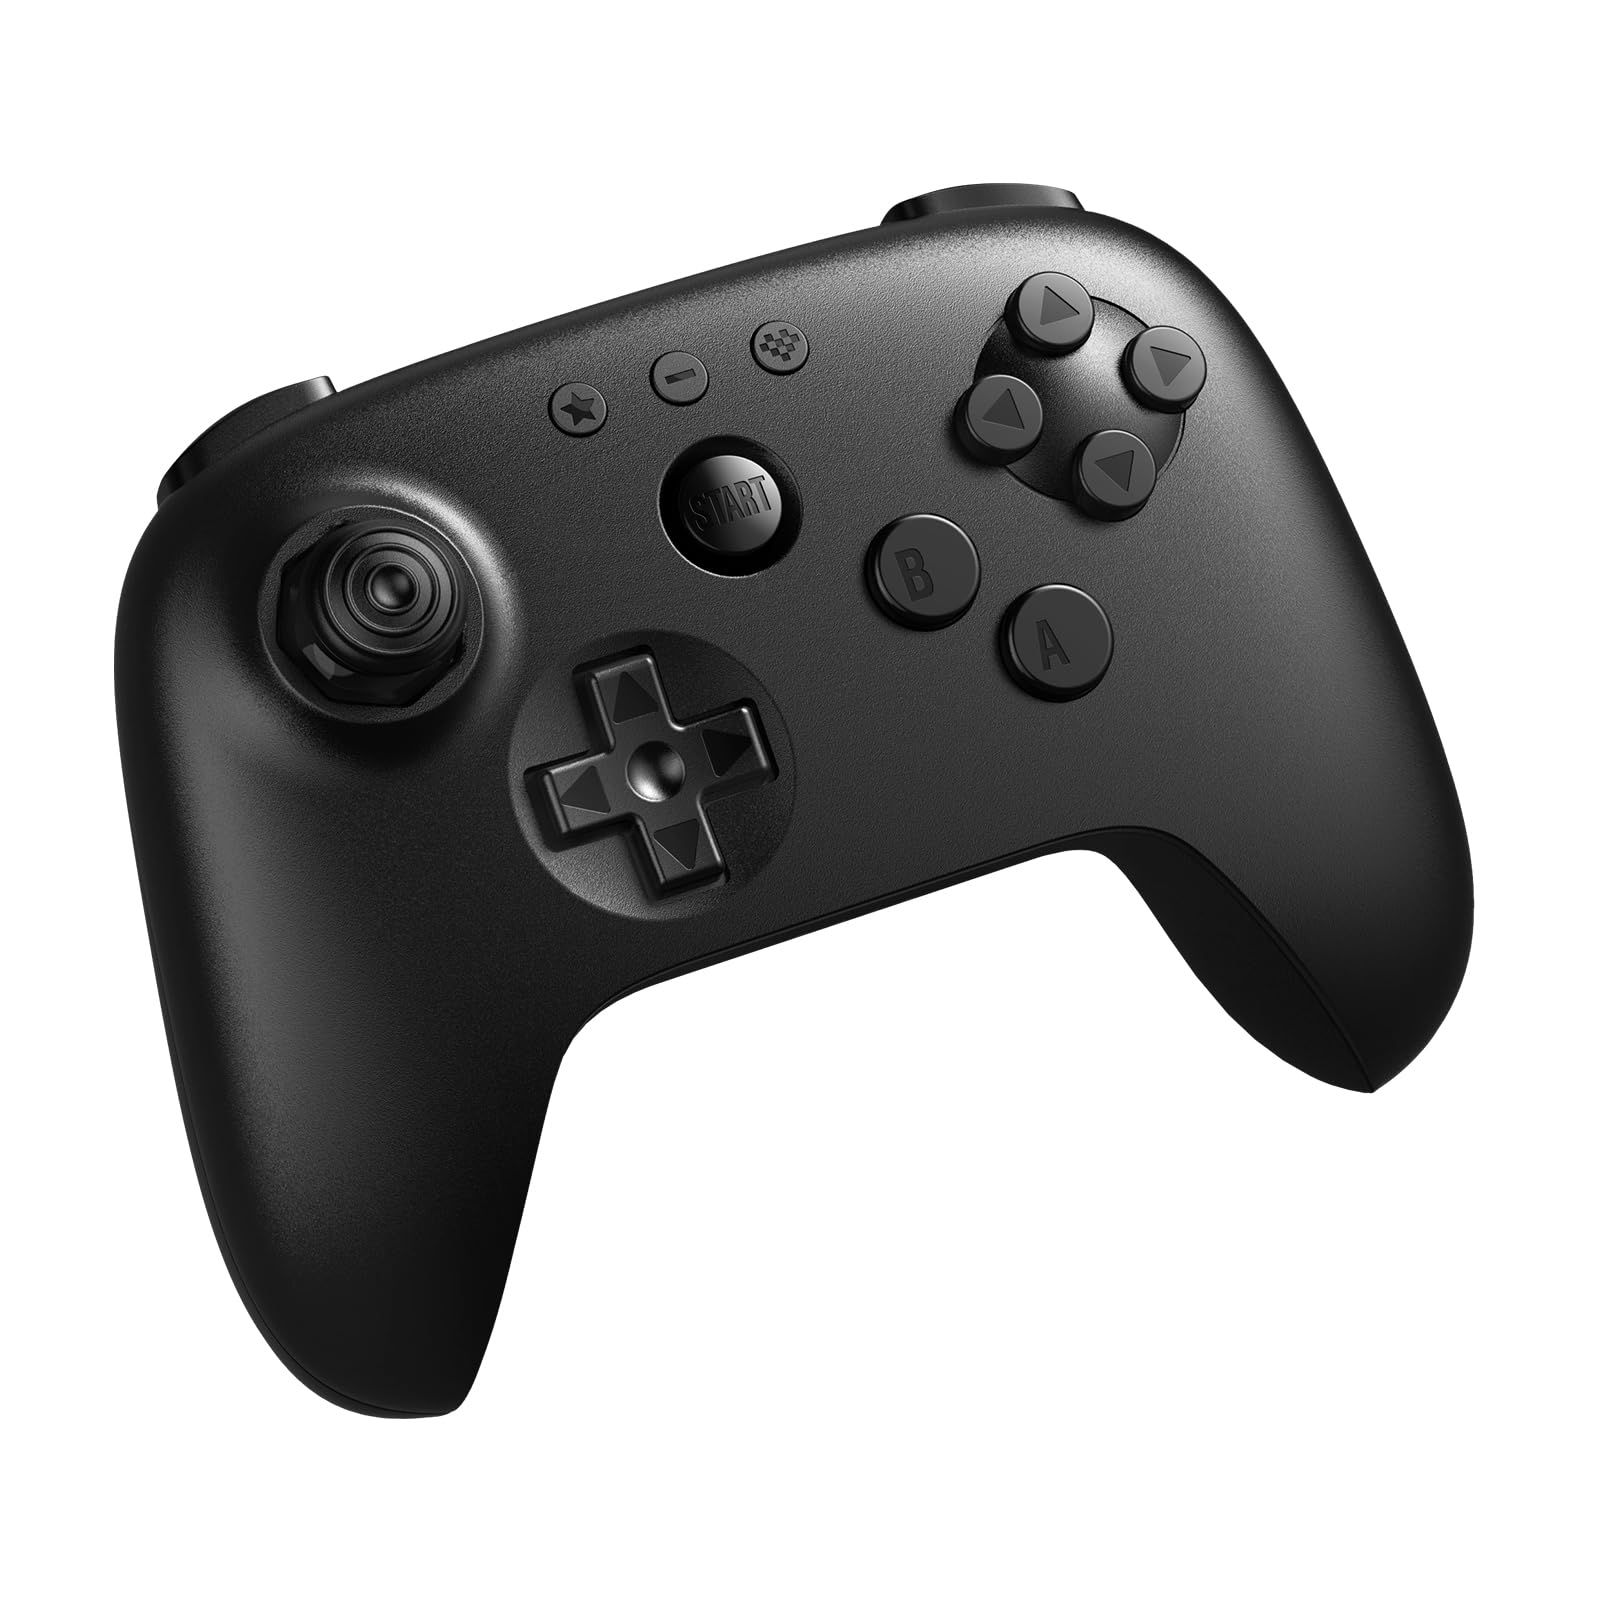 | $44.99 / £34.99 (around AU$65) | Modern dual-grip shape with Hall effect stick. | ZR remains reserved by NSO for the quick menu despite N6 form factor. | TechRadar 8BitDo 64 Review |
The official wireless N6 pad delivers total authenticity. As noted by TechRadar, Nintendo sells it exclusively through the My Nintendo Store to active Nintendo Switch Online subscribers for $49.99 / £39.99. But because it omits X and Y buttons and lacks a right analog stick, it cannot serve as your everyday gamepad for modern Switch titles. The standard Pro Controller remains the most flexible pick, provided you configure it properly.
In-App Remapping vs. System-Level Presets
Your path to fixing controls depends entirely on which vintage app you launch. Some let you remap inside the software, while others force you straight into system settings.
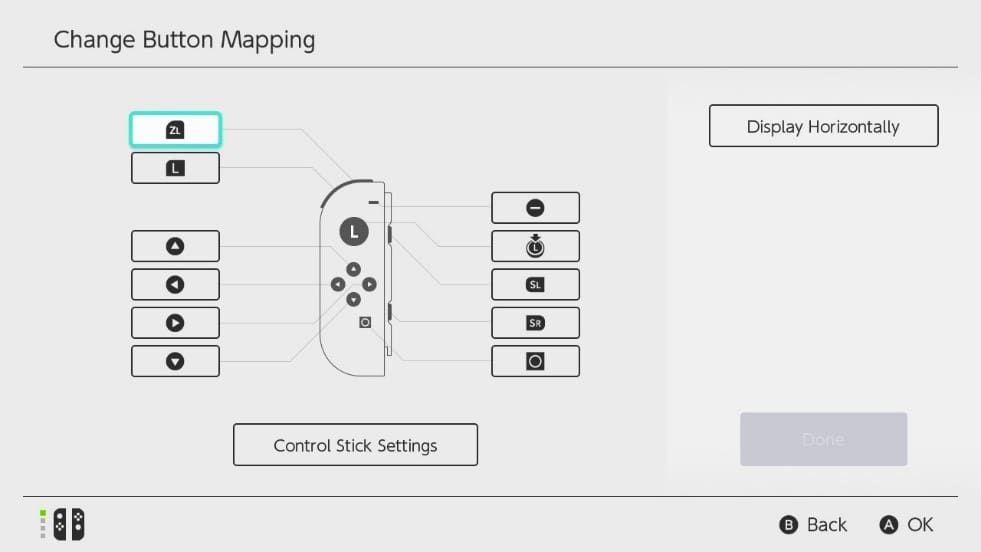
With the release of Game Boy app version 3.0.0 and NES app version 8.0.0, Nintendo added in-app button customization, documented by Nintendo Everything. During active gameplay in those two libraries, you can summon the suspend menu, open View/Change Controls, and choose Change Controls to reassign buttons directly. This leaves your system dashboard completely untouched.
However, the SNES, Sega Genesis, and N6 apps lack that convenient in-app assignment suite. For those, you must rely on system-level remapping in the Switch OS. Here is how both methods compare:
| Remapping Method | Supported Apps | Configuration Storage | Strengths | Limitations | Reference |
|---|---|---|---|---|---|
| Console Firmware Mapping | System-wide (Joy-Con, Pro Controller, Switch Lite) | Up to 5 presets saved directly in console memory | Overrides triggers and face buttons across all retro apps | Alters Home Menu buttons; does not transfer between consoles | Nintendo Support Mapping Guide |
The Recommended Universal Retro Preset
To solve the N6 trigger issue and fix NES/SNES face button ergonomics on a standard Pro Controller or Joy-Con pair, use console-level remapping. As confirmed by Nintendo Support, the Switch firmware lets you store up to 5 custom presets per controller type.
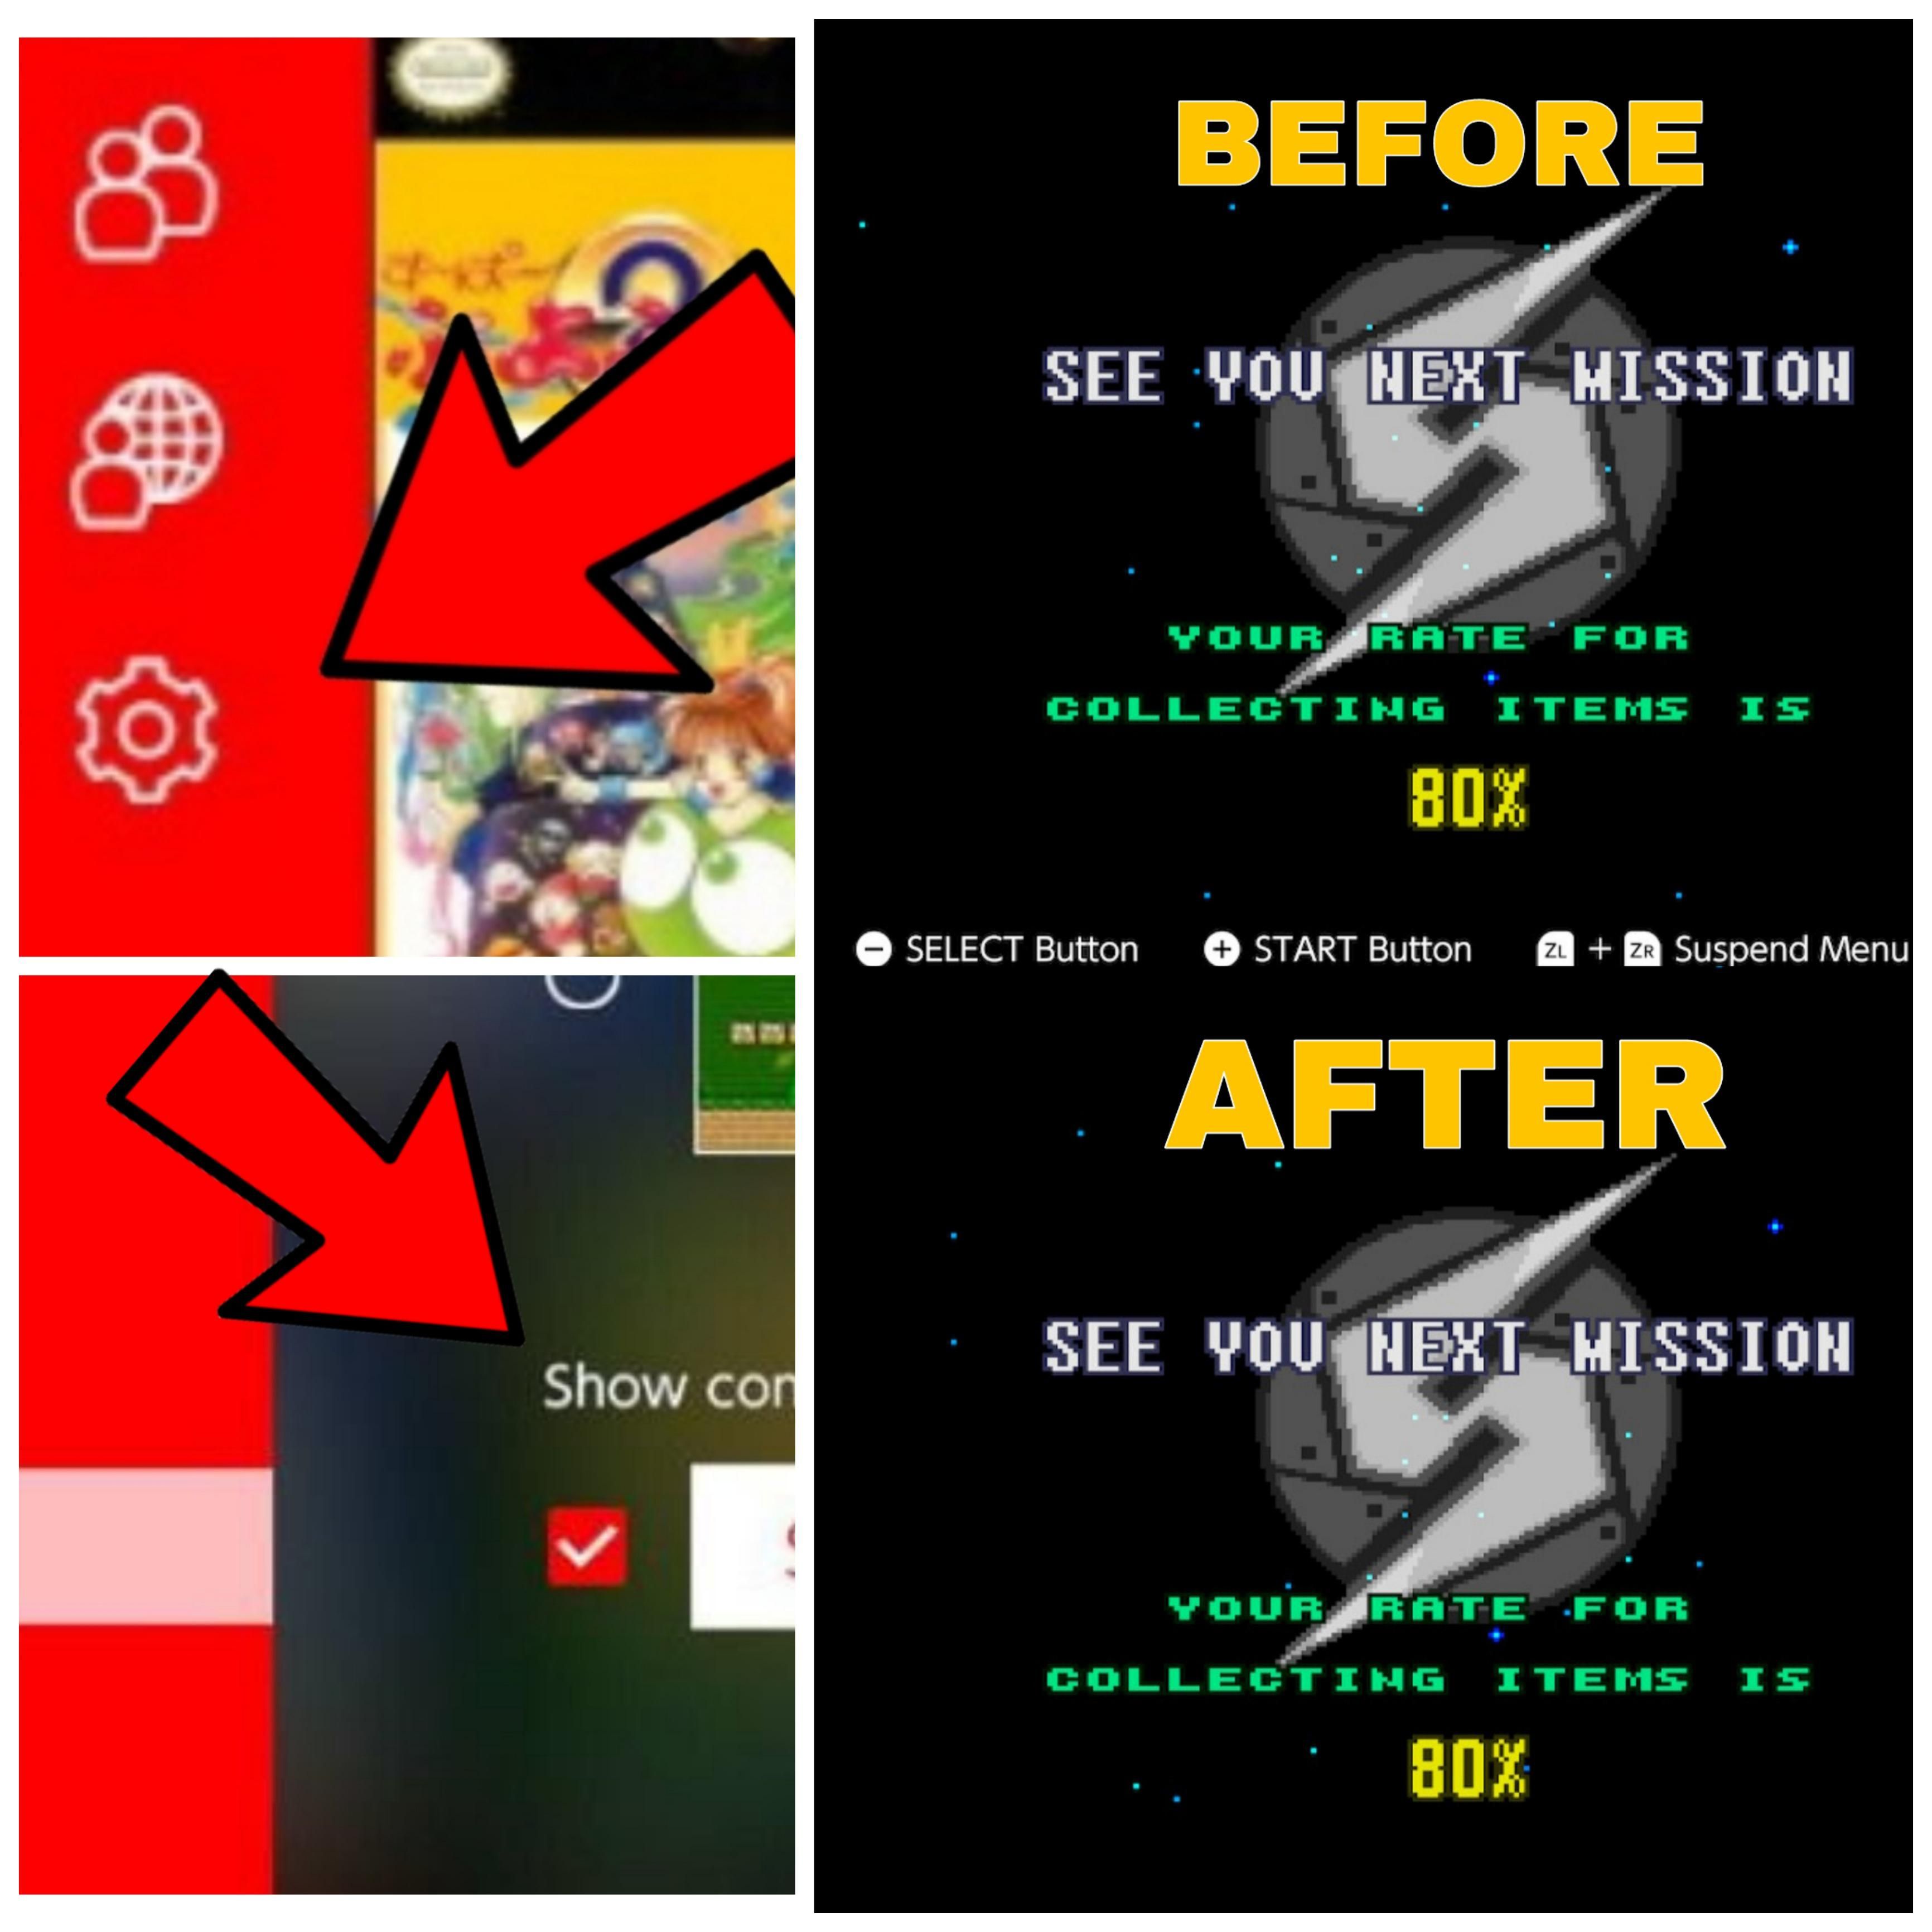
Apply this setup to get vintage games playing naturally on modern sticks and grips:
- Open System Settings from the Switch Home Menu.
- Scroll down to Controllers and Sensors, then select Change Button Mapping.
- Choose your active controller (Pro Controller or Joy-Con pair).
- Remap ZL to output ZR, and map L to output ZL. This moves the primary N6 trigger action over to the right side where your index finger expects it.
- Remap face button Y to output B, and remap B to output A. This restores natural thumb placement for classic 2D platformers.
- Leave the right analog stick assigned to standard directions so it can continue acting as the virtual N6 C-button cluster.
- Select Done, then choose Save as Preset and assign it to an open slot from 1 to 5.
| Switch Input | Remapped Output | Retro Function (NES / SNES) | Retro Function (N6) | Ergonomic Benefit |
|---|---|---|---|---|
| Physical Y | Output: B | Run / Fire (Classic B) | Left C-Button alternative | Flat thumb rest across run and jump |
| Physical B | Output: A | Jump (Classic A) | Bottom C-Button alternative | Matches original controller spacing |
| Physical ZL | Output: ZR | Rewind Shortcut component | Quick Suspend Menu | Frees right shoulder for action inputs |
| Physical R / ZR | Output: ZL | Unused / Secondary | N6 Z Trigger (Firing / Barrel Roll) | Restores right-hand trigger mechanics |
| Right Stick | Default Directions | Auxiliary functions | C-Buttons (Up, Down, Left, Right) | Retains camera and inventory directions |
The Rewind Trigger Interaction
Watch out for emulator-level shortcuts after remapping. In retro libraries like NES classics, CNET reports that holding ZL and ZR together activates rewind to erase mistakes. Swapping trigger assignments will not disable rewind, but you must squeeze whichever physical triggers are mapped to output ZL and ZR to trigger it.
How to Safely Reset Your Buttons
When you leave your retro session to play modern Switch games like Super Smash Bros. Ultimate or The Legend of Zelda: Tears of the Kingdom, non-standard button mappings will disrupt your normal inputs.
Nintendo flags active overrides with a spanner icon over the controller symbol in the lower-left corner of the HOME Menu. If you see that wrench, your custom profiles are still running.
If you scramble your buttons so badly that you cannot navigate menus, you are not stuck. Nintendo Support details a reliable hardware escape hatch via sleep mode:
- Press the physical POWER Button on top of the console to put the Switch into sleep mode.
- Press the POWER Button a second time to wake the console.
- The lock screen will immediately display a Reset Button Mapping prompt.
- Confirm the prompt to immediately restore factory default button assignments.
Editor's Take
Firmware remapping is not an elegant substitute for native in-game configuration, but it remains your most reliable tool across the older Switch Online libraries. Save your retro mapping into Preset Slot 1, memorize the sleep mode reset trick, and switch back to defaults the second you return to modern releases.
Follow NXPGame for more Nintendo Switch Online Membership (EU) news~

Community
Comments